Clients can place orders on their own through the Client Portal, or a Customer Service Representative–or CSR–can place an order on the client's behalf through the Client's Profile.
Required permission(s): client_read, order_create, order_update
-
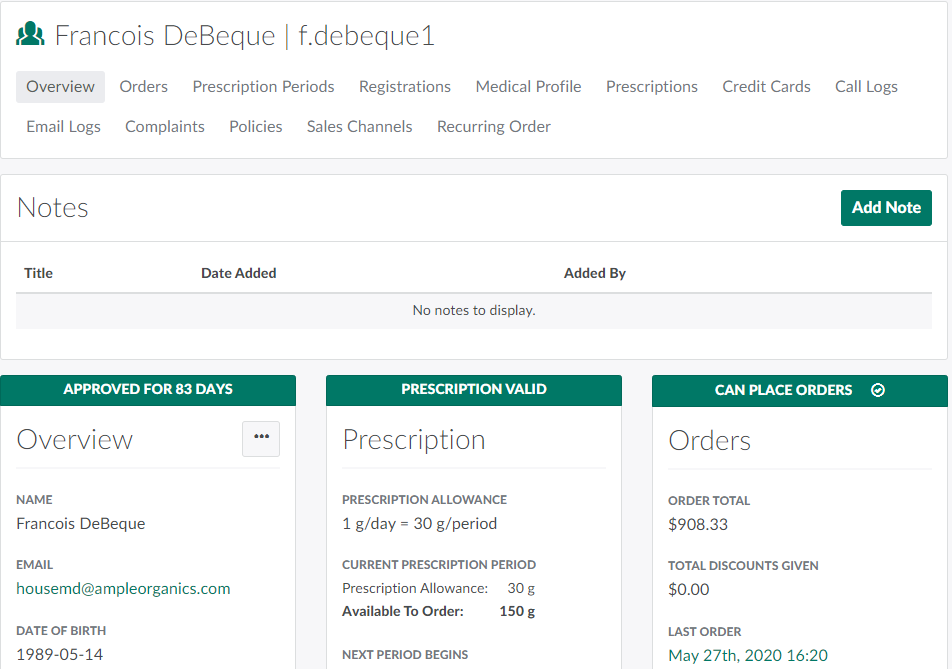
In the Clients module, select a client. This opens the Client's Profile.
-
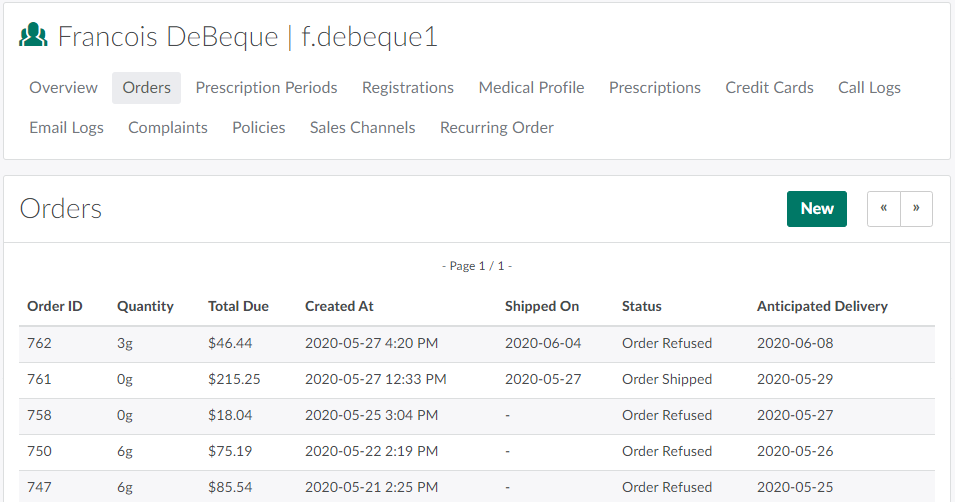
Open the Orders tab.
-
Click New to open a blank Order Profile.

- Note*: The New button will only appear if the client has an active Prescription and is part of at least one Sales Channel.*
-
Add items to the order.
-
Click Add. This opens the Add Product to Cart modal.

-
Open the Select a Product drop-down menu and select a product. This reveals a list of all SKUs associated with the product.
-
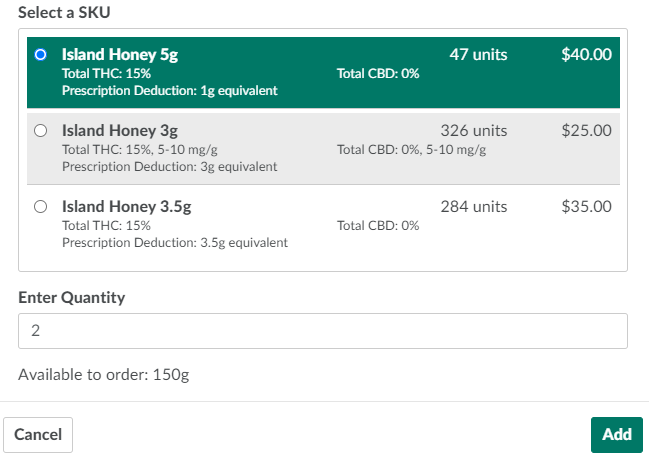
Select a SKU.
-
Enter the quantity of the SKU to order in the field provided.
-
Click Add to add the SKU to the order.
-
Repeat steps b-e for each order item. Once all items have been added, or the prescription limit has been exhausted, click out of the modal to exit.
-
-
Select a shipping rate.
-
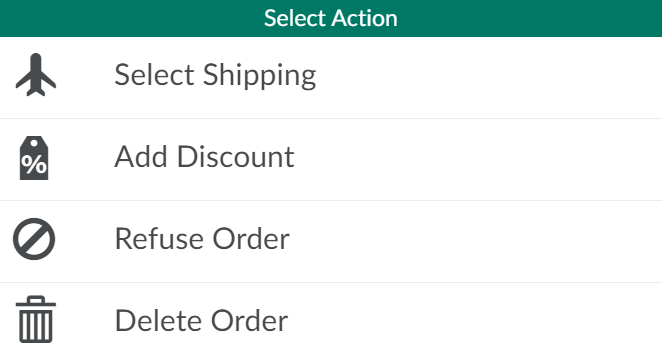
Click the

icon to open a menu of options.
-
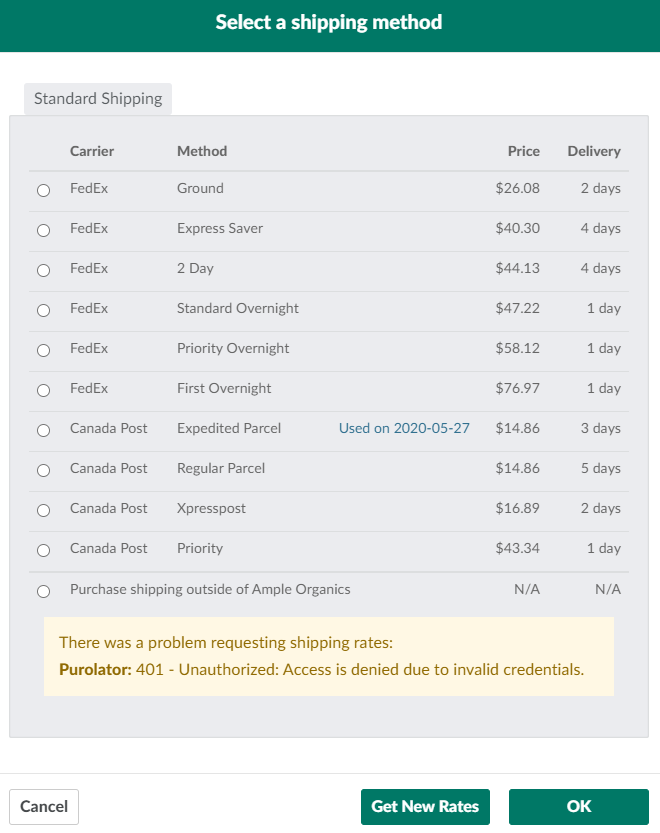
Click Select Shipping. This opens the Select a shipping method modal.
-
Choose between Standard Shipping, Same-Day Shipping, or Saturday Shipping by selecting one of the tabs along the top of the modal. Same Day Shipping and Saturday Shipping can be disabled or enabled depending on the licence holder's specifications.
-
Select a shipping method by clicking its corresponding radio button.
-
Click OK.
-
-
If applicable, Apply a Discount to the Order.
-
Purchase the order.
-
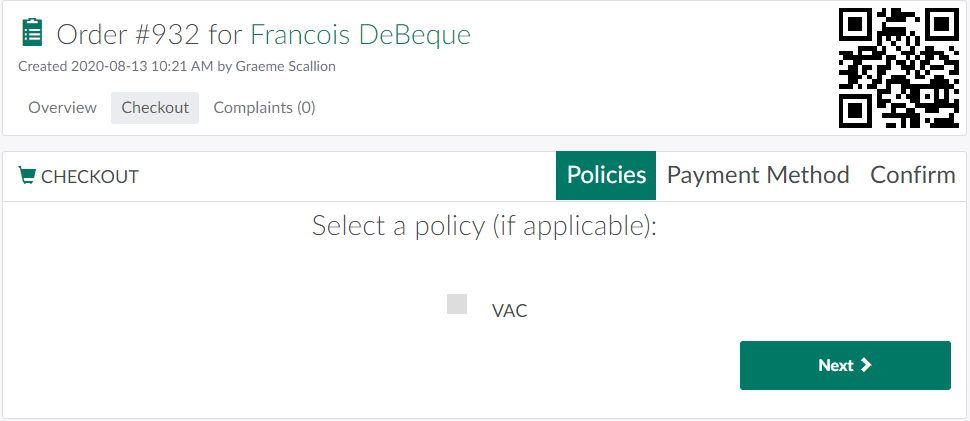
Click Purchase to proceed to the Checkout tab. If the client has an applicable policy, the checkout workflow will open on the Policies sub-tab. If not, the checkout workflow will open on the Payment Method sub-tab.
-
If applicable, select a policy to apply to the order, and click Next. This opens the Payment Method sub-tab.

-
Select a method of payment, and click Next to advance to the Confirm sub-tab.
-
Note*: To Add a New Credit Card, click Add New Card.*
-
-
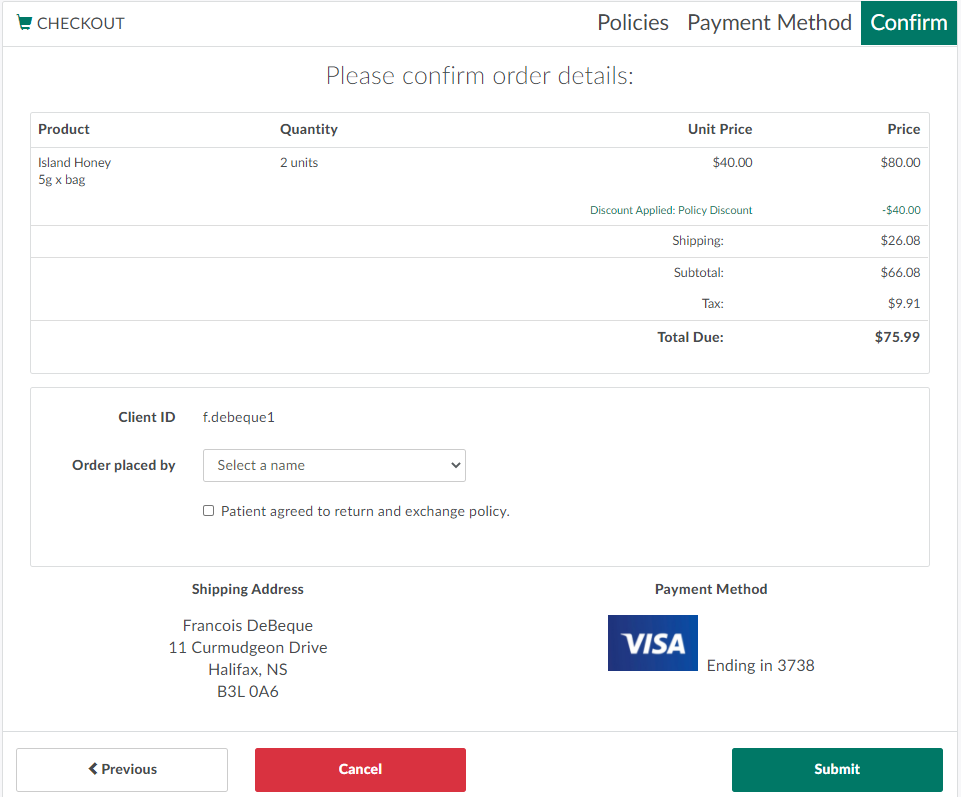
Review the details of the order. If everything is correct, open the Order Placed By drop-down menu, and select the party who placed the order.

-
Check the box to confirm the client agreed to the licence holder's return and exchange policy.
-
Click Submit to place the order, and generate an order confirmation email.
-
If the client paid with a credit card, the order's status will update to Placed. If the client paid with a money order, cheque, cash, or eTransfer, the order's status will update to Awaiting Payment. This holds the order and applicable inventory until a CSR Completes the Payment manually.
If the client places consistent orders, they can Create a Recurring Order to expedite future orders.