In response to a vendor's purchase order–or PO–requesting a wholesale order, a license holder will create a Sales Order to accept the request and confirm their end of the transaction. This process includes selecting the appropriate currency and configuring a tax type for the order or by line item.
A Sales Order may include bulk, unpackaged cannabis, or Packaged Items.
Required permission(s): sales_order_read, sales_order_create, tax_types_read
-
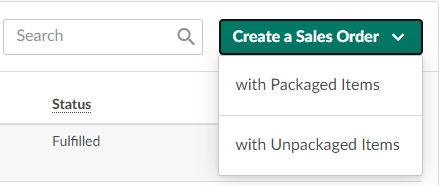
In the Wholesale application, open the Sales Orders tab. It should be open by default.
[img sales-order-index] -
Open the Create a Sales Order drop-down menu.
-
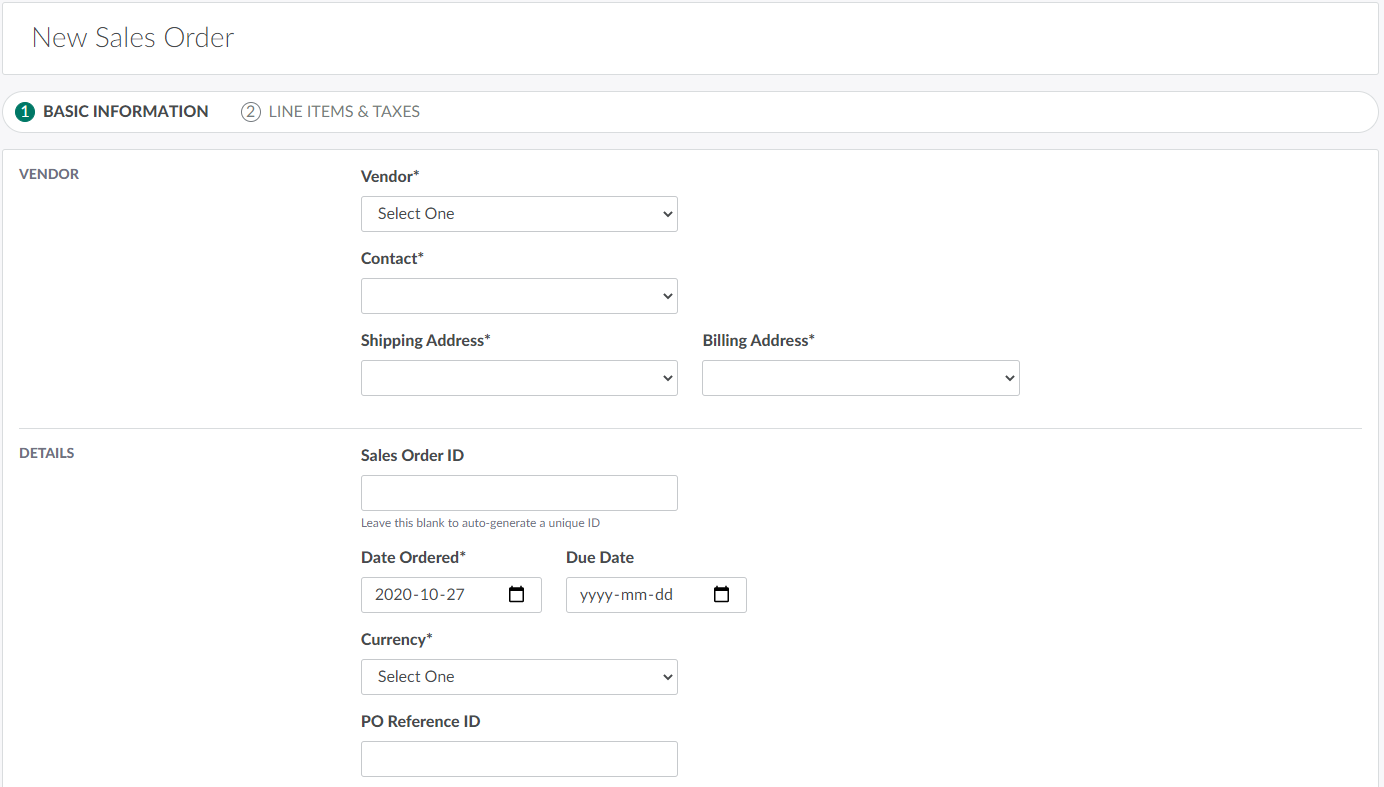
Select with Unpackaged Items. This opens a New Sales Order on Step 1: Basic Information.
-
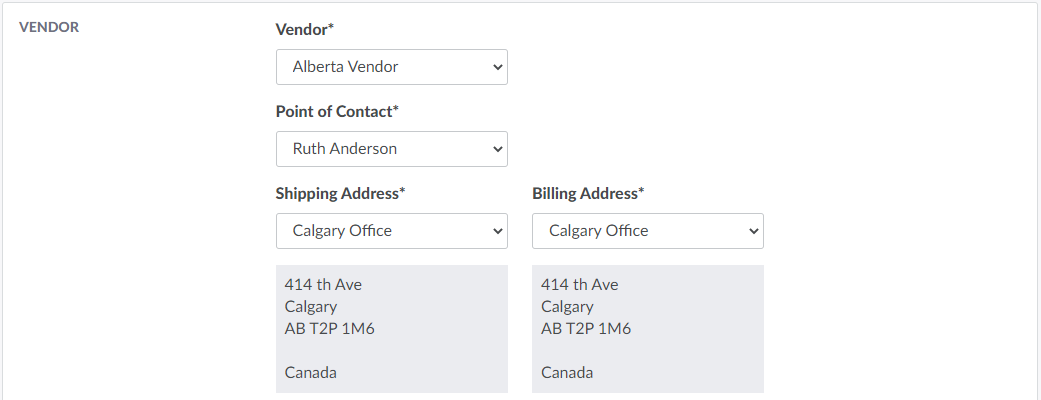
Enter vendor information in the Vendor section.
-
Vendor: Select an approved vendor from the provided drop-down menu.
- Visit the Vendors tab to Add a New Vendor.
-
Contact: Select a vendor contact from the provided drop-down menu.
- Visit the Vendor's Profile to Add a New Vendor Contact.
-
Shipping Address: Select the vendor's shipping address from the provided drop-down menu.
- Visit the Vendor's Profile to Add a New Vendor Address.
-
Billing Address: Select the vendor's billing address from the provided drop-down menu.
-
-
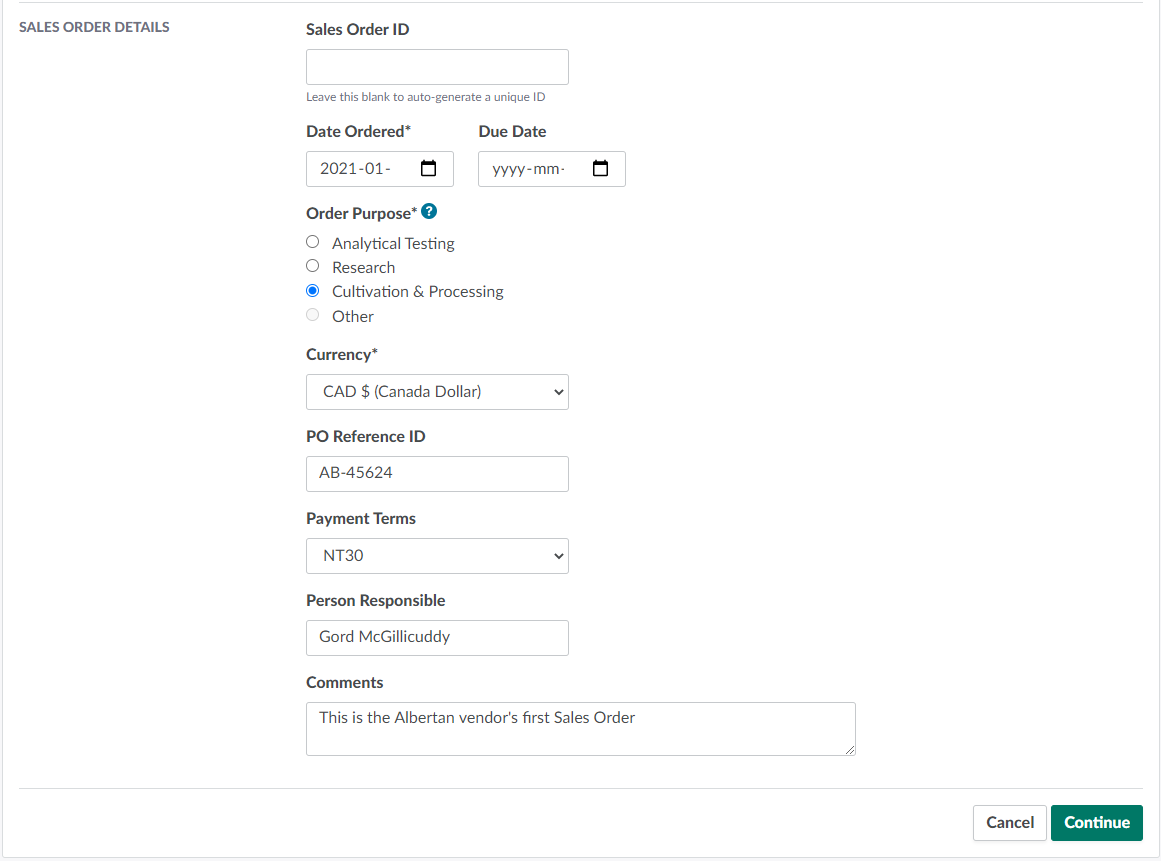
Enter information about the Sales Order in the Details section.
-
SO ID: The Sales Order's ID code. Leave this field blank to generate a unique ID.
-
Date Ordered: The date on which the order was placed.
-
Due Date: The date on which the Sales Order is due.
-
Order Purpose: The Sales Order's intended purpose. The options available depend on the license types at the vendor's shipping address. This selection will affect totals on the monthly CTLS and CRA reports.
-
Currency: The type of currency the order will use.
-
PO Reference ID: The corresponding purchase order's reference ID code.
-
Payment Terms: The Sales Order's payment terms.
- Visit the Wholesale Settings tab to Add a New Payment Term.
-
Person Responsible: The person responsible for seeing the Sales Order through to completion.
-
Comments: Additional details about the Sales Order.
-
-
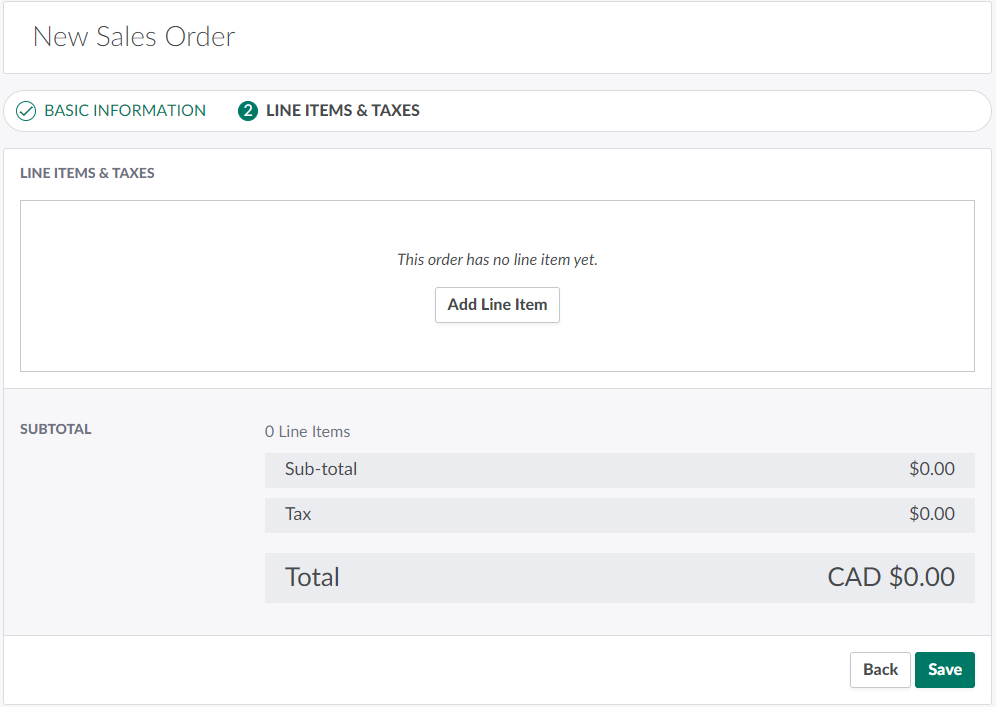
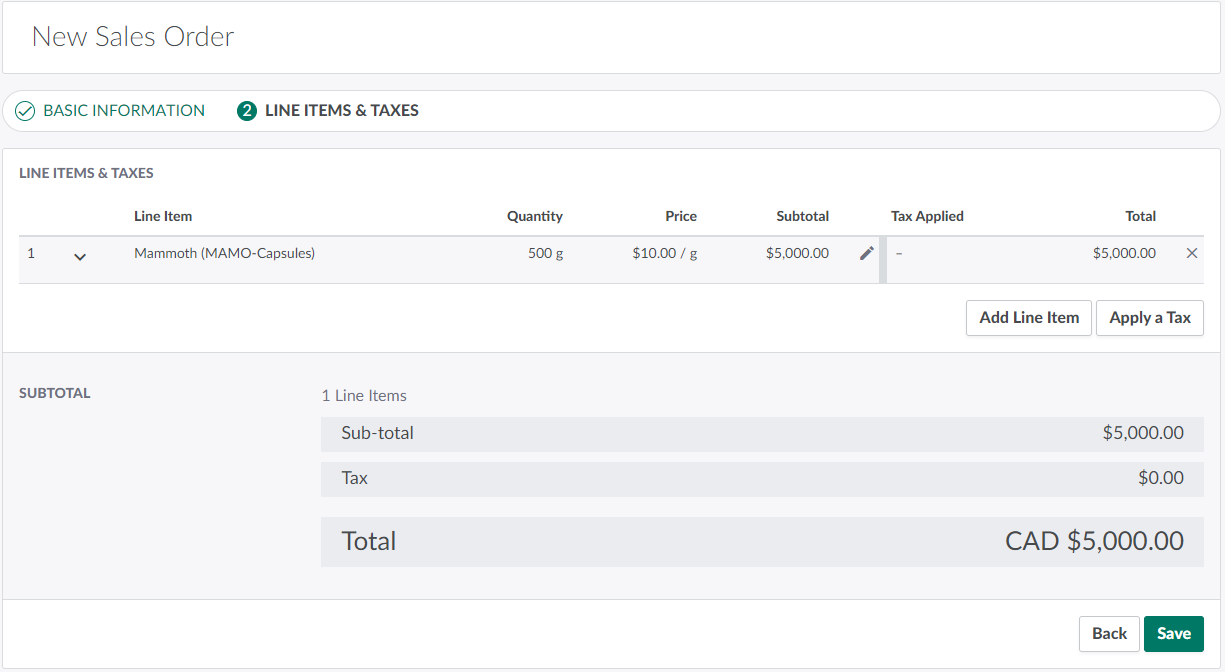
Click Continue to proceed to Step 2: Line Items & Taxes.
-
Add unpackaged line items.
-
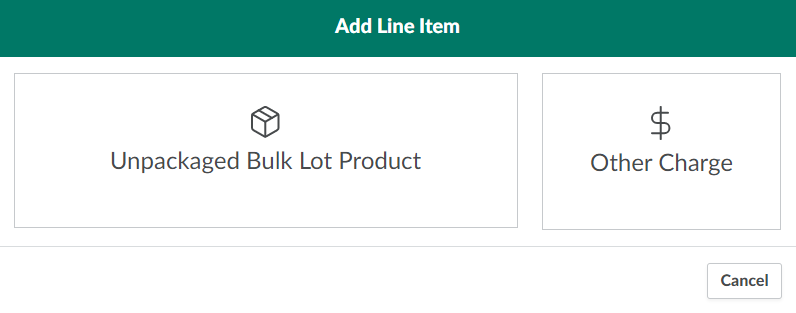
Click Add Line Item to summon a modal to select line items.
-
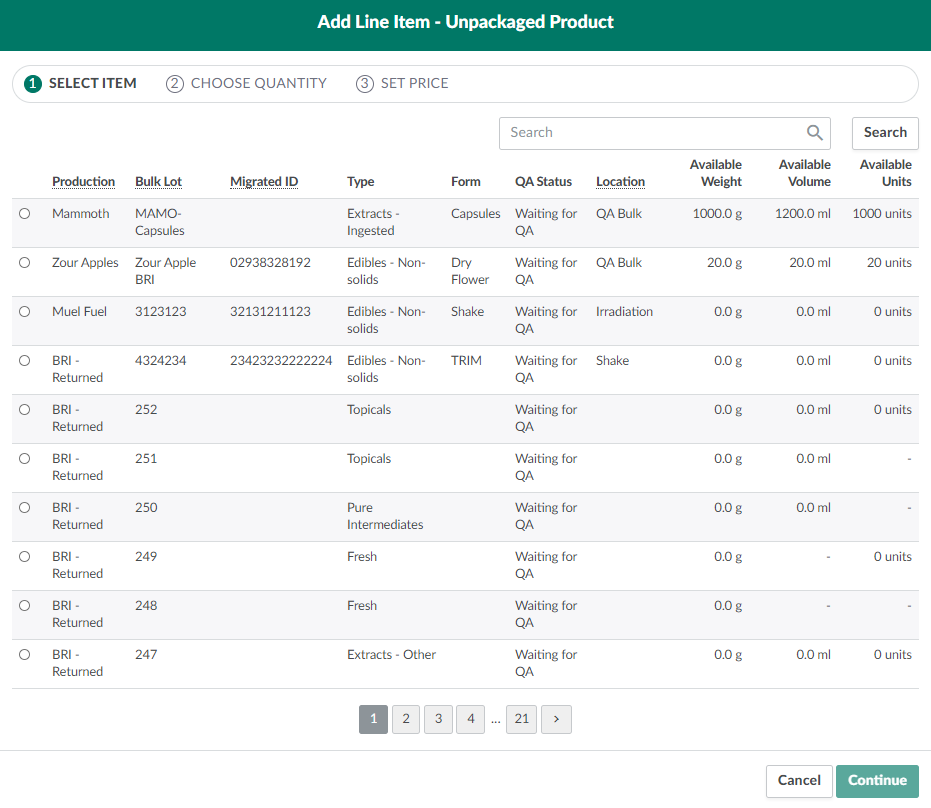
Click Unpackaged Bulk Lot Product. This opens the Add Line Item workflow on Step 1: Select Item. The tab includes a menu of Bulk Lots saved to your Seed-to-Sale environment.
-
Select a Bulk Lot by checking a radio button in the leftmost column.
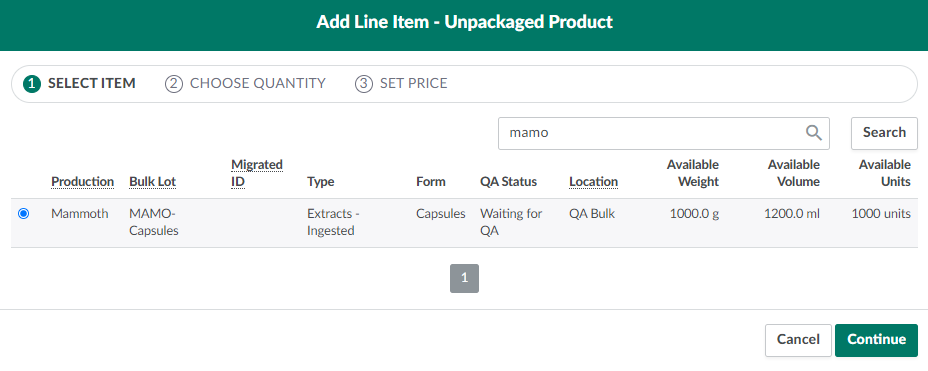
- Use the search bar to quickly find a specific Bulk Lot.
-
Click Continue to proceed to Step 2: Choose Quantity.
-
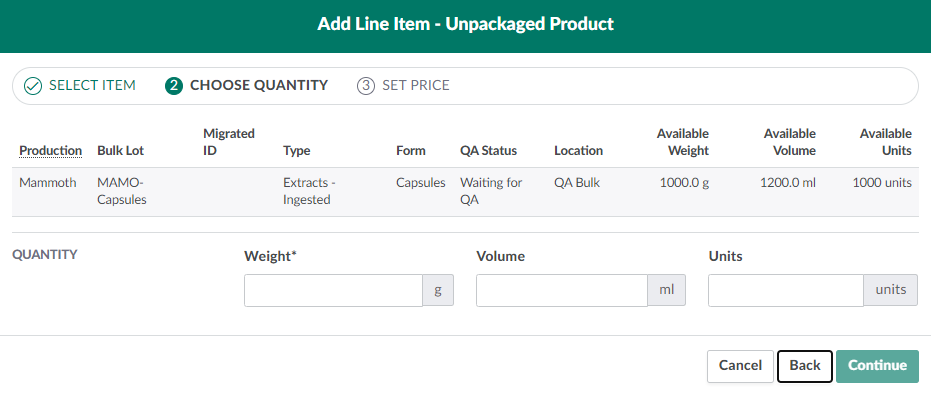
Enter the weight, volume, and discrete units to pull from the source Bulk Lot.
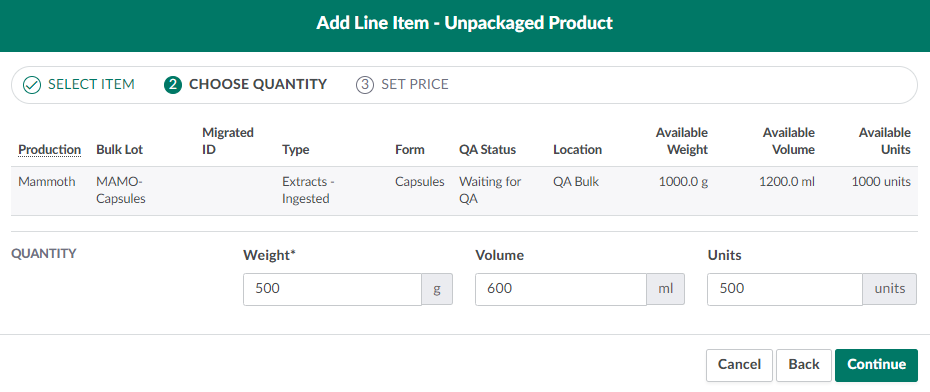
-
Click Continue to proceed to Step 3: Set Price.
-
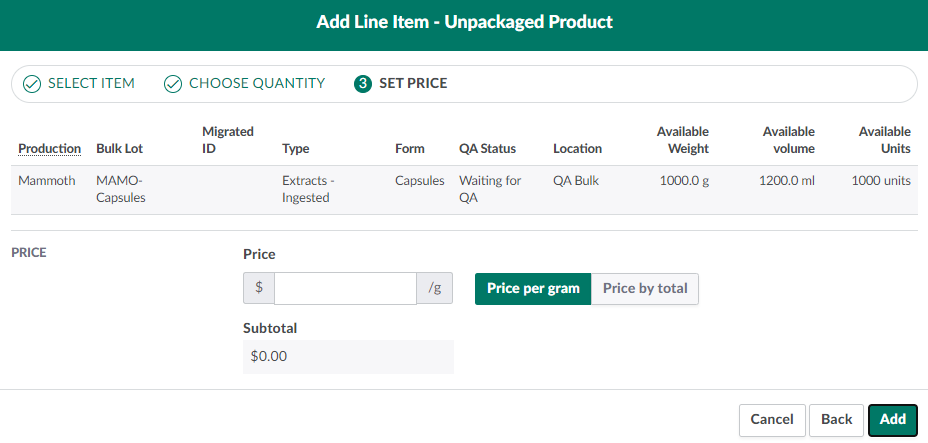
Set the price of the line item in the field provided. You can set a price per gram or a total price for the entire weight of the item.
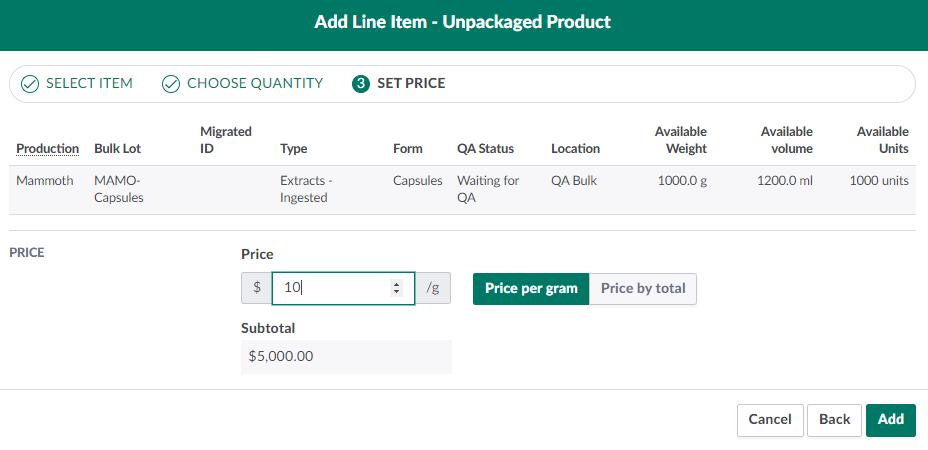
-
Click Add to pull the line item into the Sales Order.
-
Repeat as necessary.
-
-
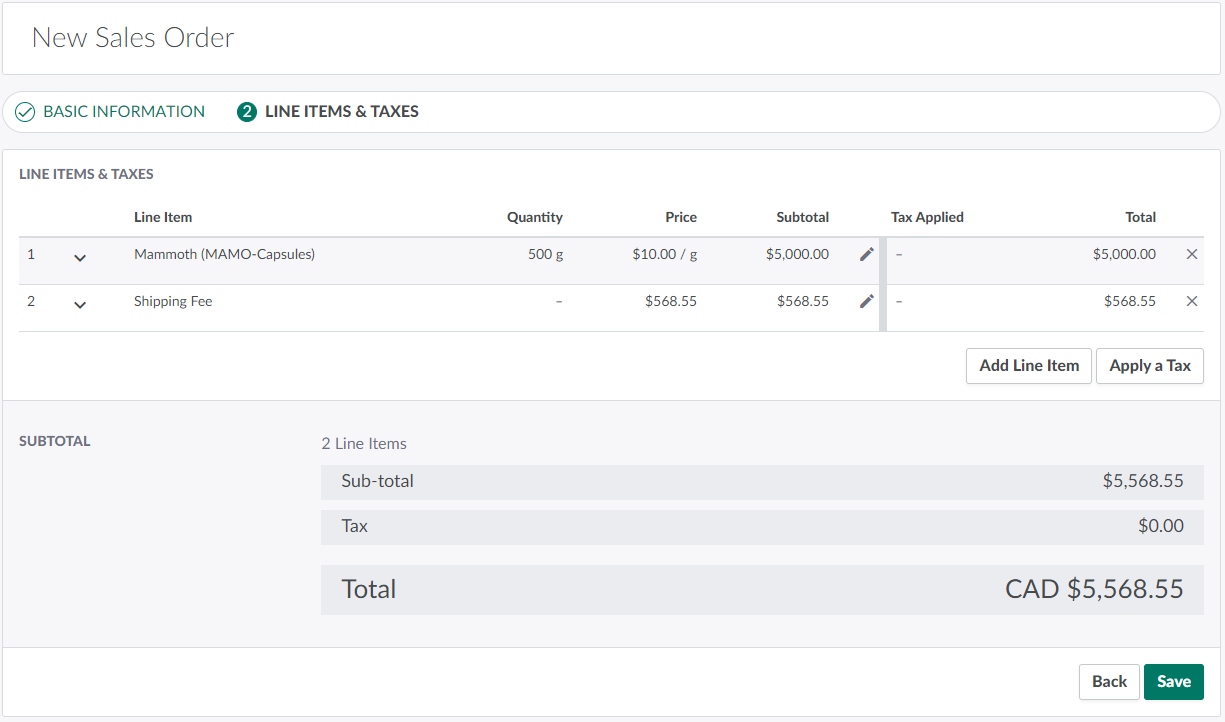
Add other charges, if necessary. This is useful for adding costs that are not covered by pre-set values like taxes or products, such as packaging or shipping fees.
-
Click Add Line Item to summon a modal to select line items.
-
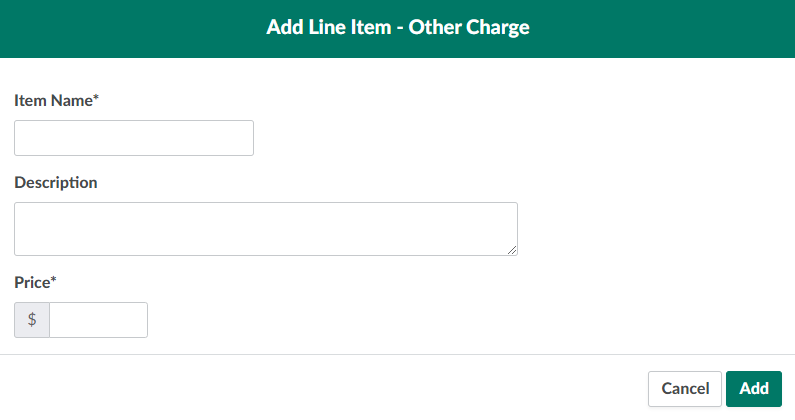
Click Other Charge.
-
Enter the item's name and price in the fields provided, and write a brief description of the charge.

-
Click Add to apply the charge.
-
-
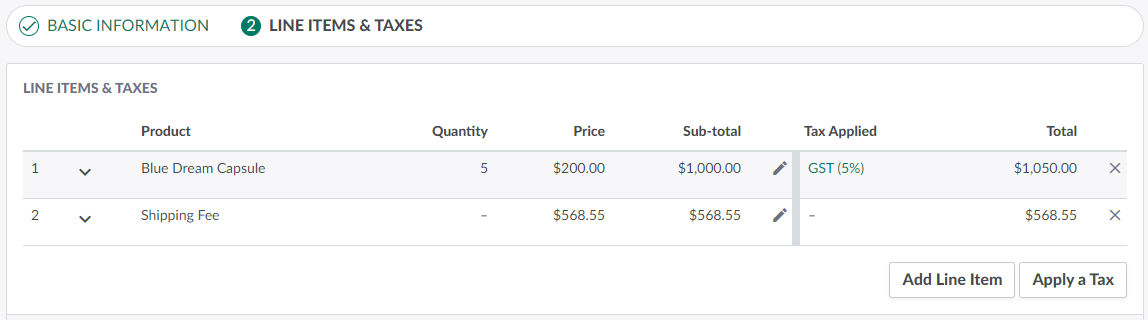
Apply taxes to each line item.
-
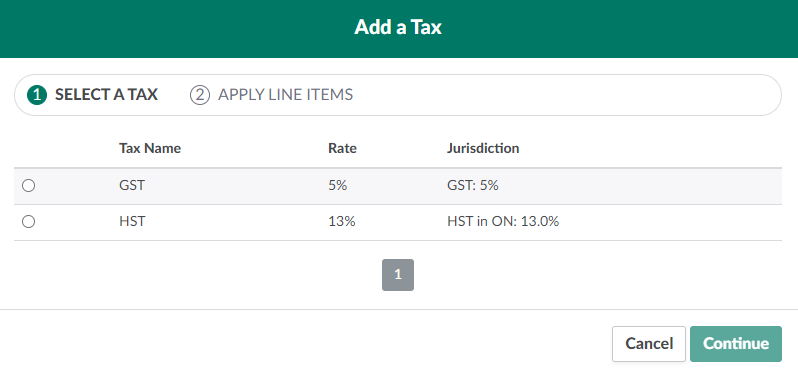
Click Apply a Tax to open a menu of tax types.
-
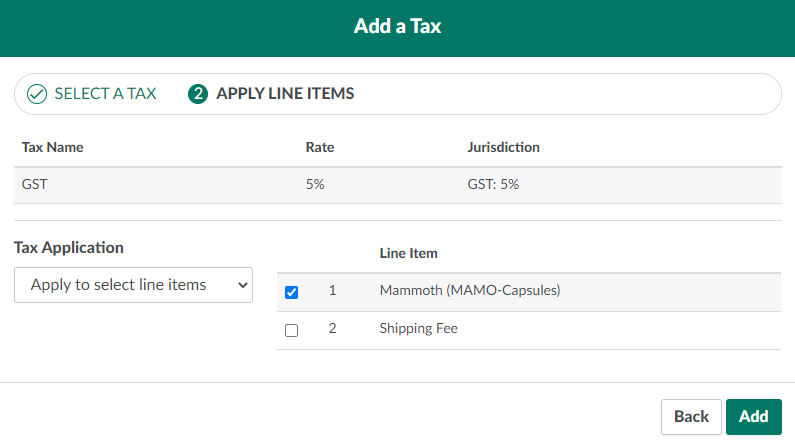
Select a tax type and click Continue.

-
Indicate whether the tax type will apply to all line items in the Sales Order, to specific line items, to only cannabis products, or only other charges.
-
To apply the tax to specific line items, indicate which line items will use the tax type by checking their boxes.
-
-
Click Add to apply the tax type.
-
Repeat until all line items have a tax type assigned. You can apply multiple tax rates to a single line item if there are overlapping jurisdictions.
-
-
Click Save to finalize the Sales Order.
Once the sales order is complete, Approve the Sales Order and Download a Sales Order Invoice.