If a client reacts adversely to a product, or if they are dissatisfied with the product in some way, they may submit a complaint. Customer Service Representatives–or CSRs–should record each complaint in the Complaints module, and track the complaint as QA Technicians investigate the problem to determine and implement corrective actions.
Required permission(s): complaint_read, complaint_create, complaint_update
-
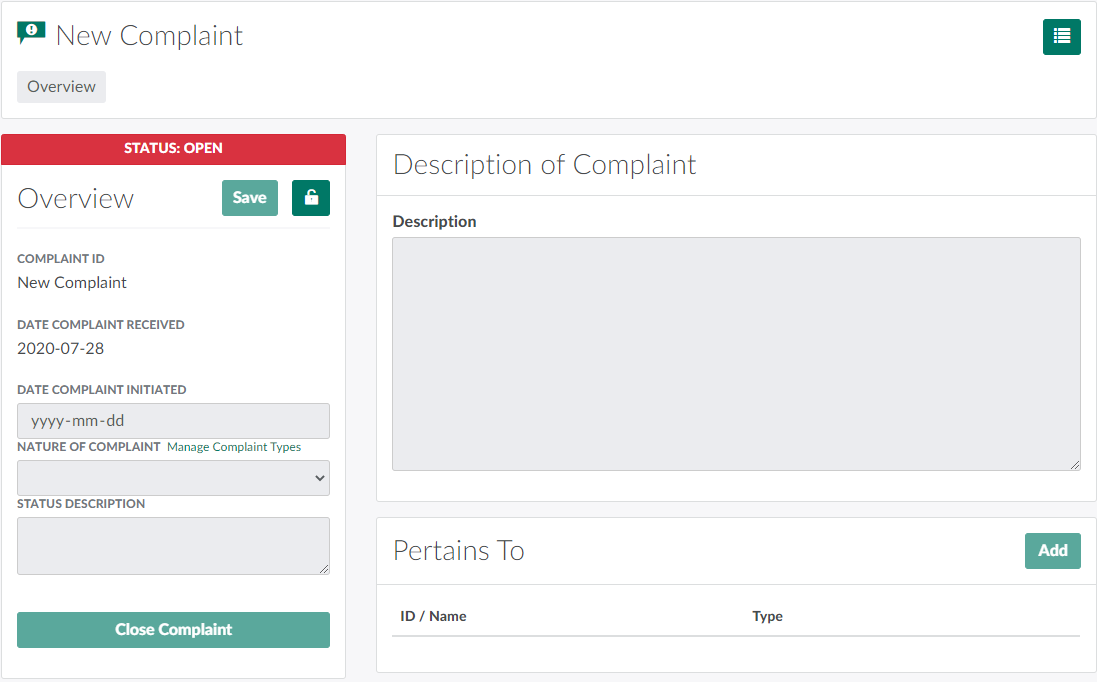
Open the Complaints module, and click New. This opens a blank Complaint Profile.
-
Click the

icon to unlock editing capabilities.
-
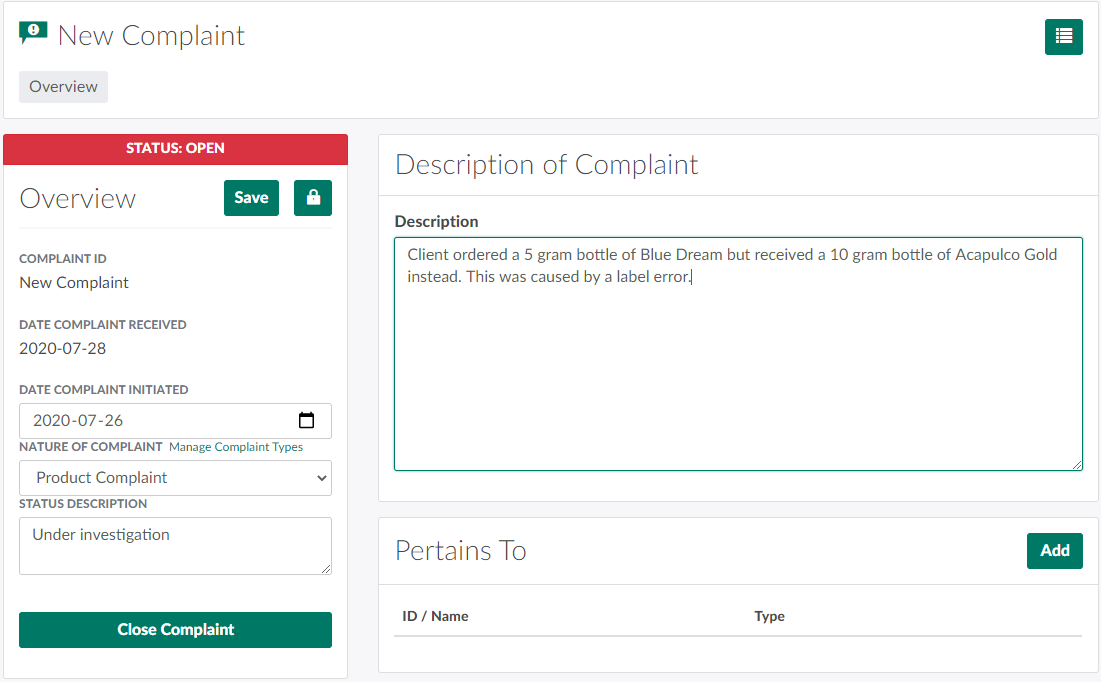
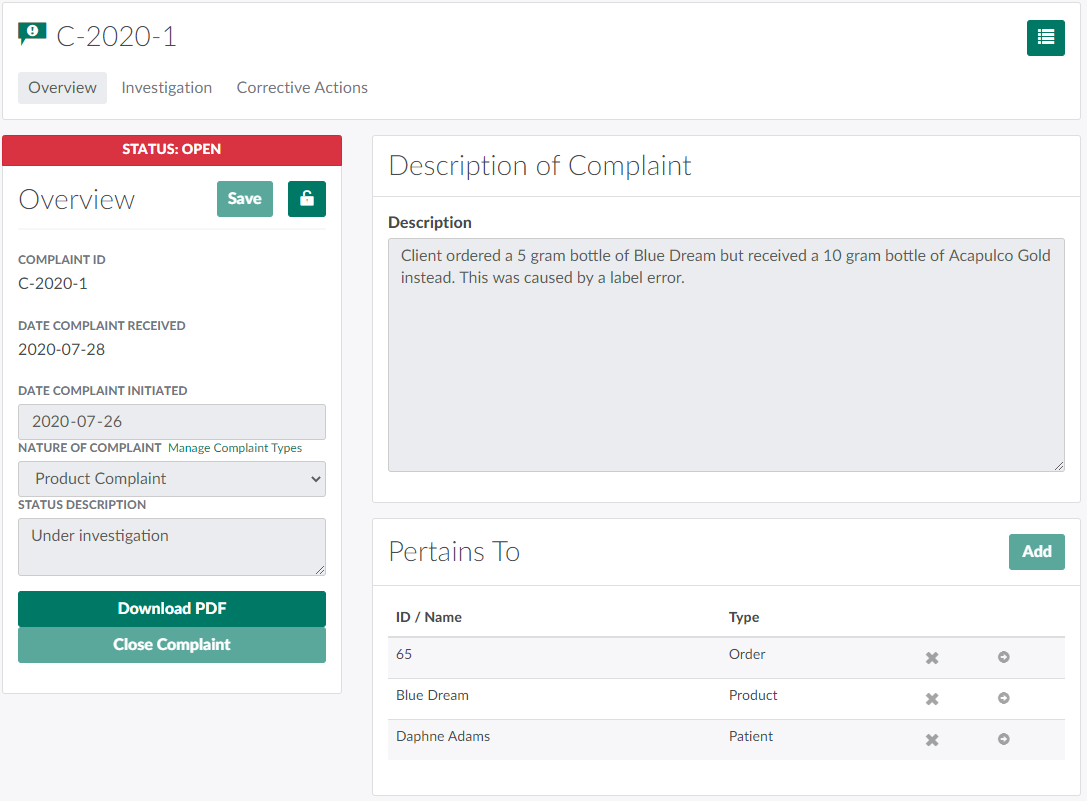
Enter or review information about the complaint in the fields provided.
-
Complaint ID: Displays as New Complaint.
-
Date Complaint Received: Today's date.
-
Date Complaint Initiated: The date on which the complaint was first initiated. This may be different than the date the CSR records the complaint.
-
Nature of Complaint: The complaint type.
- Click Manage Complaint Types to Add a New Complaint Type.
-
Status Description: Enter a description of progress or actions undertaken to date to address the complaint.
-
Description: A brief description of the complaint.
-
-
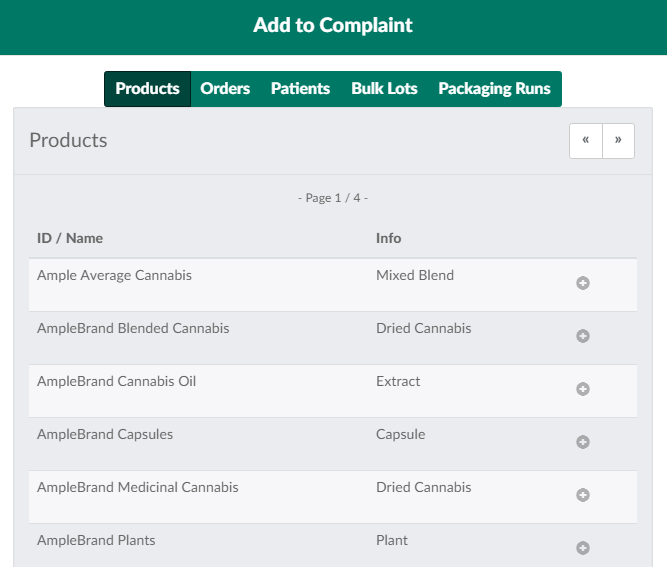
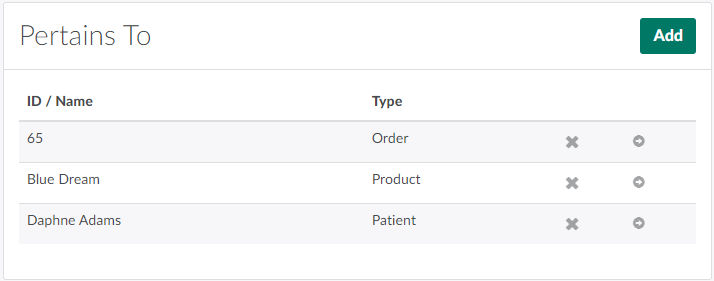
If applicable, identify any relevant products, orders, patients, Bulk Lots, or Packaging Runs in the Pertains To section.
-
In the Pertains To section, click Add. This opens the Add to Complaint modal.
-
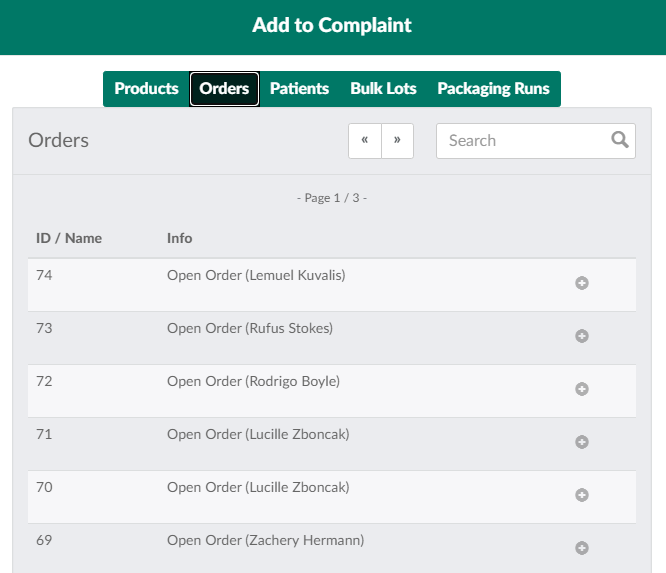
Select one of the tabs along the top of the modal–for instance, Orders. This opens a list of all objects of that type saved to the licence holder's Seed-to-Sale environment.
-
Click the

icon next to an item to add it to the Pertains To section. Repeat as necessary.
-
Click out of the modal to close it.
-
Note*: If a mistake occurs, click the*

icon next to an item to remove it from the Pertains To section.
-
-
-
If the CSR identified a product in the Pertains To section, a new Product Details section will appear. Enter details about the product in the fields provided:
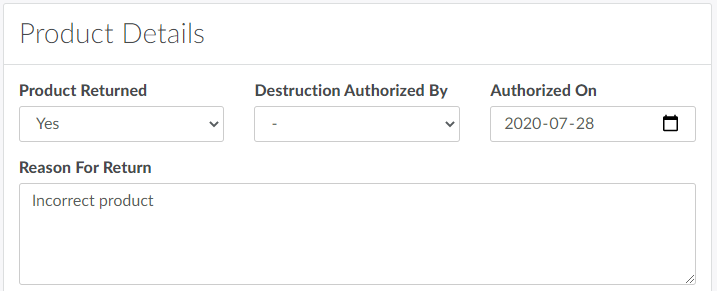
- Product Returned: Indicates whether or not the product was returned.
- Reason for Return: The reason the product was returned.
- Destruction Authorized By: The user who authorized the destruction, if applicable.
- Authorized On: When the destruction was authorized, if applicable.
-
Click Save to save the complaint.
The new Complaint Profile will include two new tabs: Investigation and Corrective Actions. If the complaint requires an investigation, use these tabs to document the investigation as it progresses. Once the complaint has been rectified, Close the Complaint. To remove the complaint from the index on the Complaints Dashboard, Archive the Complaint.
If a complaint pertains to a specific client, a CSR can access this workflow from the Complaints tab in the Client's Profile.If a complaint pertains to a specific order, the CSR can access this workflow from the Complaints tab in the Order's Profile.