Licence holders can create discounts to promote specific products. Depending on the terms of the discount, the licence holder may create a discount with a checkout code or apply restrictions on which clients and products are included in the discount.
Required permission(s): discount_code_read, discount_code_create
Please note that the Cannabis Act imposes regulations that prohibit the use of discounts on cannabis products. Each licence holder should consult the Cannabis Act and develop Standard Operating Procedures–or SOPs–surrounding the use of discount codes.
Create a Discount with a Checkout Code
A discount with a checkout code is available to any patient who knows the code. This is ideal for small discounts that are available for a limited time, such as promotional discounts to attract new clients. To create a discount with a checkout code, follow the steps below:
-
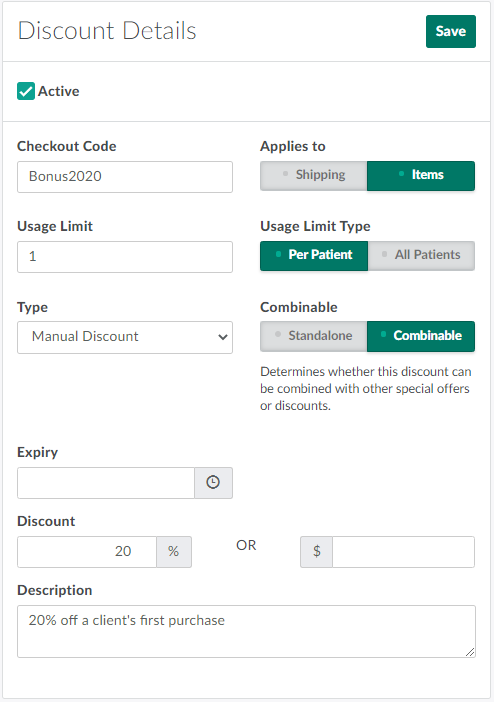
In the Discounts module, click New.This opens a new Discount page.

-
Enter information about the new discount in the fields in the Discount Details section. Be sure to include a distinct checkout code in theCheckout Codefield.
-
Visit the Discount Types tab to Add a New Discount Type.
-
-
Click Save. This adds the new discount to the list on the Discounts module dashboard.
Create a Restricted Discount
For large or ongoing discount offers, a licence holder may add restrictions that limit which patients can claim the discount, and the product types included in the discount.
-
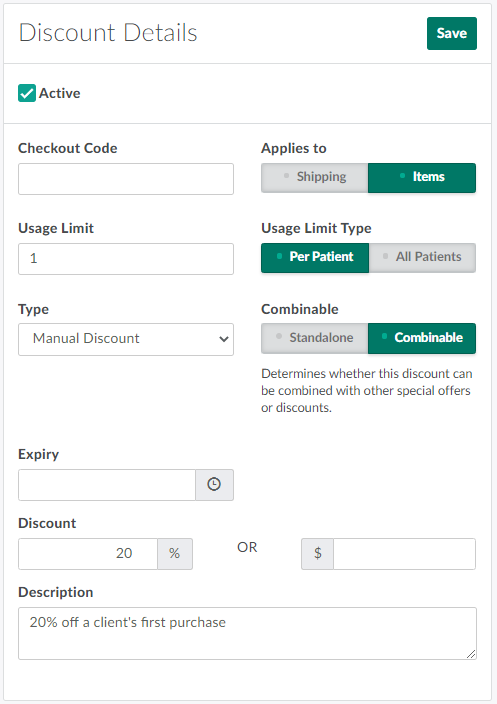
In the Discounts module, click New.This opens a new Discount page.

-
Enter information about the new discount code in the fields in the Discount Details section. Be sure to leave the Checkout Code field blank.
-
Visit the Discount Types tab to Add a New Discount Type.
-
-
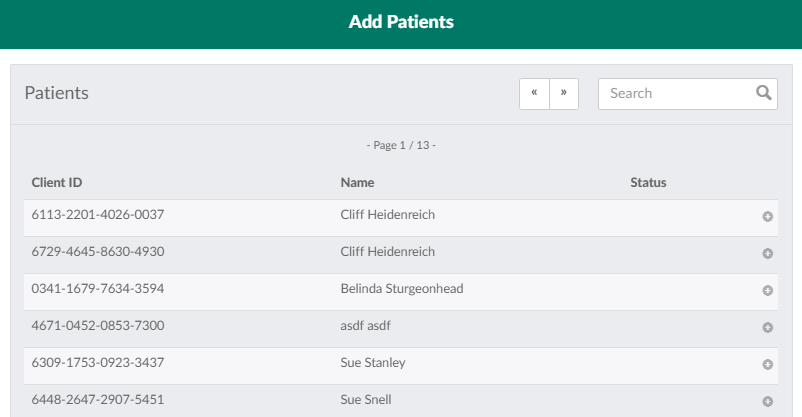
To identify specific patients who will have access to the discount:
-
Navigate to the Patients section and click Add. This opens the Add Patients modal.
-
Click the

icon beside a patient to add them to the list.
-
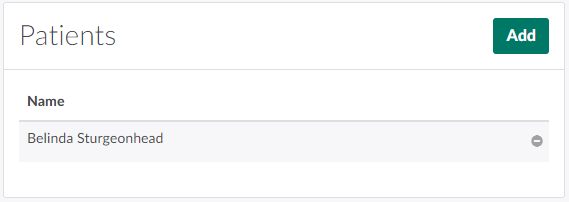
Note*: To remove a patient from the list, click the*

icon.
-
-
-
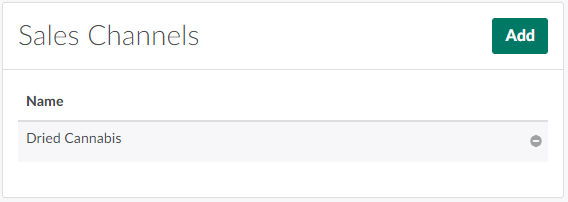
To identify specific sales channels included in the discount:
-
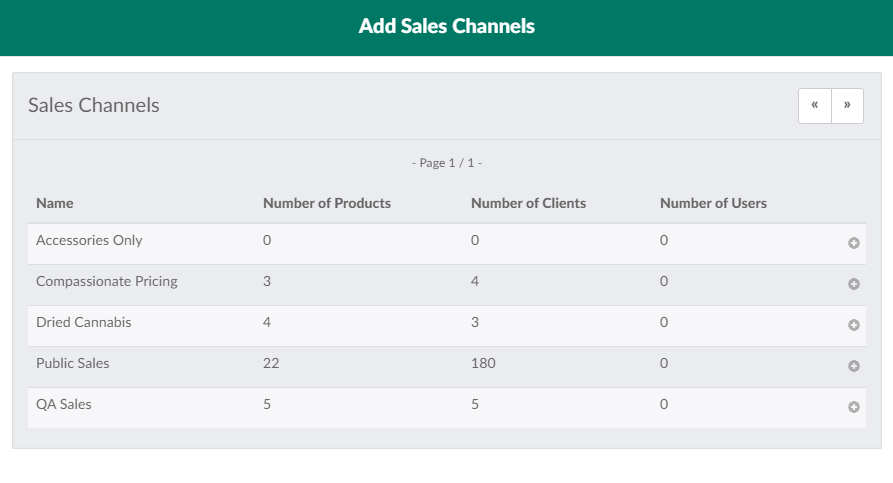
Navigate to the Sales Channels section and click Add. This opens theAdd Sales Channels modal.
-
Click the
icon beside a sales channel to add it to the list.
-
Note*: To remove a sales channel from the list, click the*
icon.
-
-
-
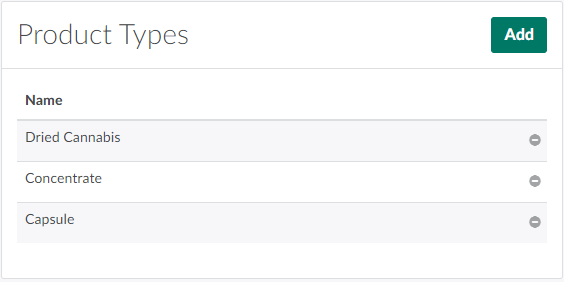
To limit the product types included in the discount:
-
Navigate to theProduct Typessection and click Add. This opens theAdd Product Types modal.

-
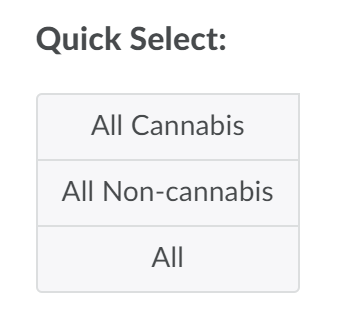
Click the checkbox beside a product type to add it to the list, or choose one of the options under the Quick Select heading to select multiple product types at once.
-
Click Add.
-
Note*: To remove a product type from the list, click the*
icon.
-
-
-
Click Save to create the new restricted discount.
Visit the Orders module to Apply a Discount to an Order. Customer Service Representatives–or CSRs–can also manually Add Discounts to Specific Line Items in an order, rather than applying a discount to an entire order.
Some licence holders offer employee discounts, senior discounts, or other discounts for a specific customer type. Learn how to use sales channels and discounts in combination to Create a Senior or Employee Discount.