After creating a new Seed Lot, a Grow Technician should immediately label the lot. Labelling a Seed Lot serves two purposes: First, labels identify a Seed Lot by its unique name and ID number. Secondly, and most importantly, each label includes a unique barcode that Grow Technicians can scan to interact with the Seed Lot through the Gun App.
A Grow Technician can also print a Seed Lot label from the Gun App.
Required permission(s): seed_lot_read, strain_read
-
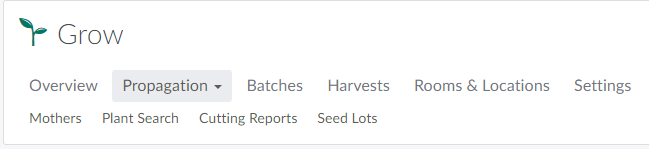
In the Grow module, open the Propagation tab.
-
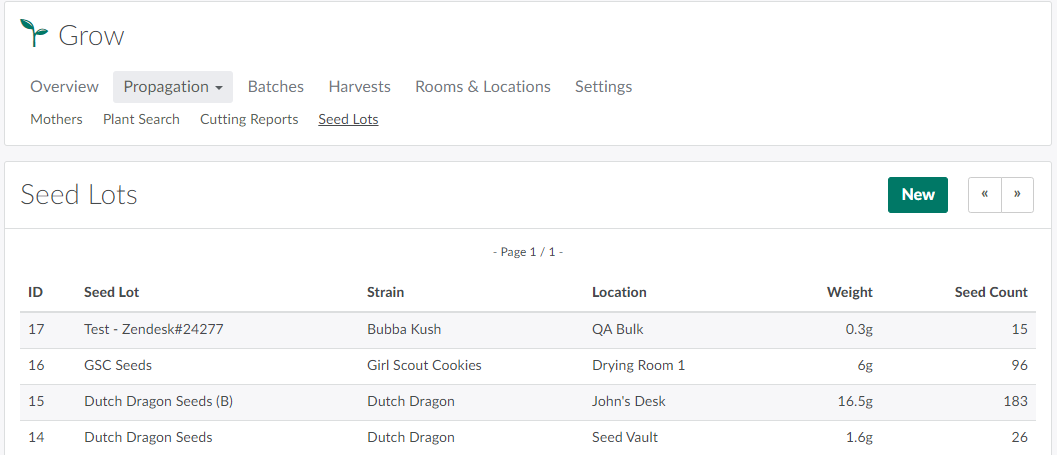
Open the Seed Lots sub-tab.
-
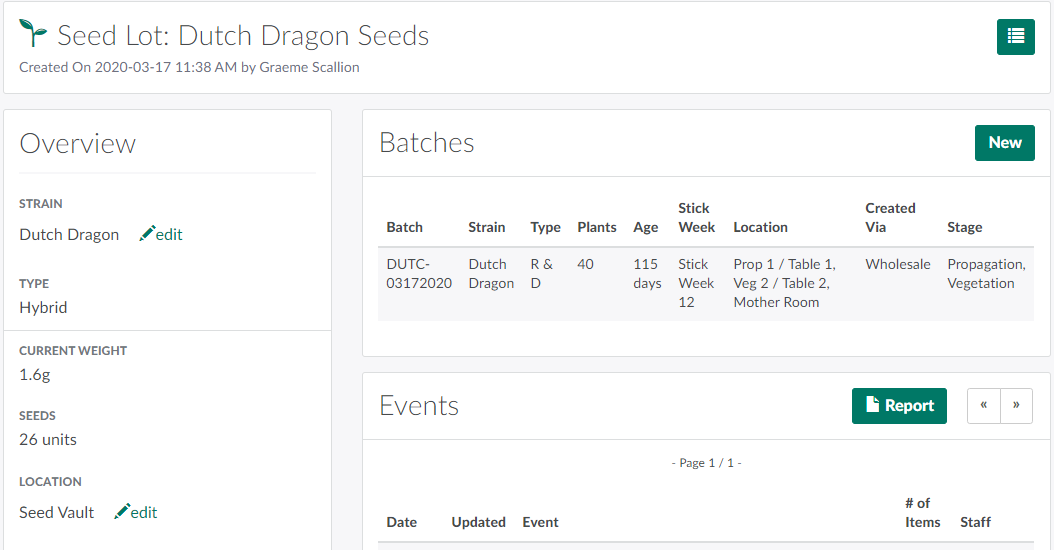
Select a Seed Lot to open the Seed Lot's Profile.
-
Click the

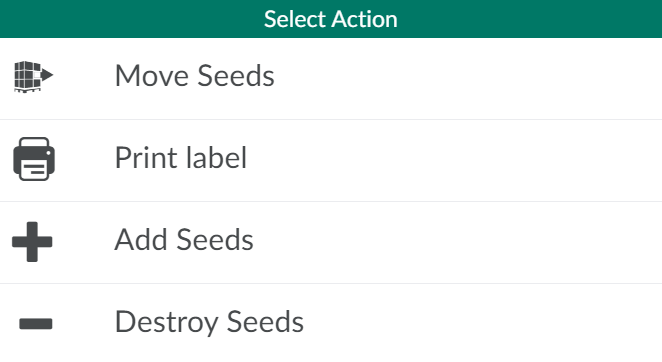
icon to open a menu of options.
-
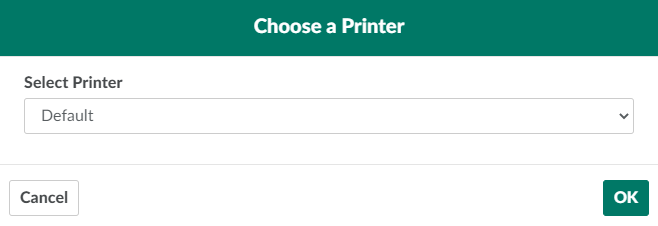
Select Print Label. This opens a confirmation modal.
-
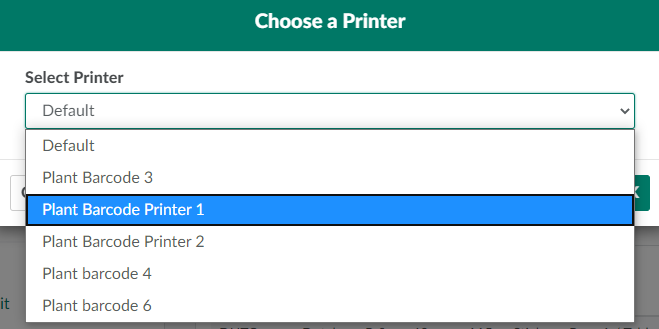
If the facility uses multiple barcode label printers, open the drop-down menu and select a printer.
-
Click OK to print the label. Affix the label to the Seed Lot container immediately.

From the Grow module, a Grow Technician can also print labels for Batches, Plants, and Locations.