Once a Customer Service Representative–or CSR–requests a registration amendment through a Client's Profile, the client will receive an email notification to log into the Client Portal and update their registration.
-
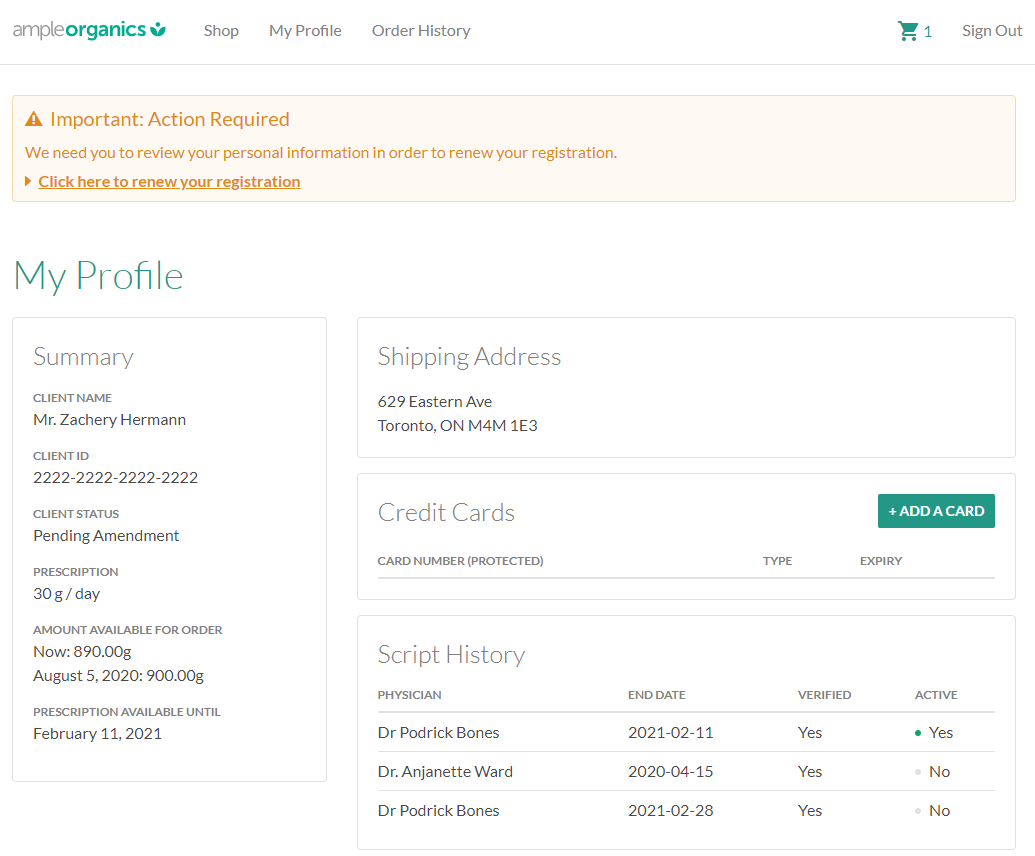
Log into the Client Portal. Upon logging in, an Important: Action Required notification will appear, prompting the client to amend their registration.
-
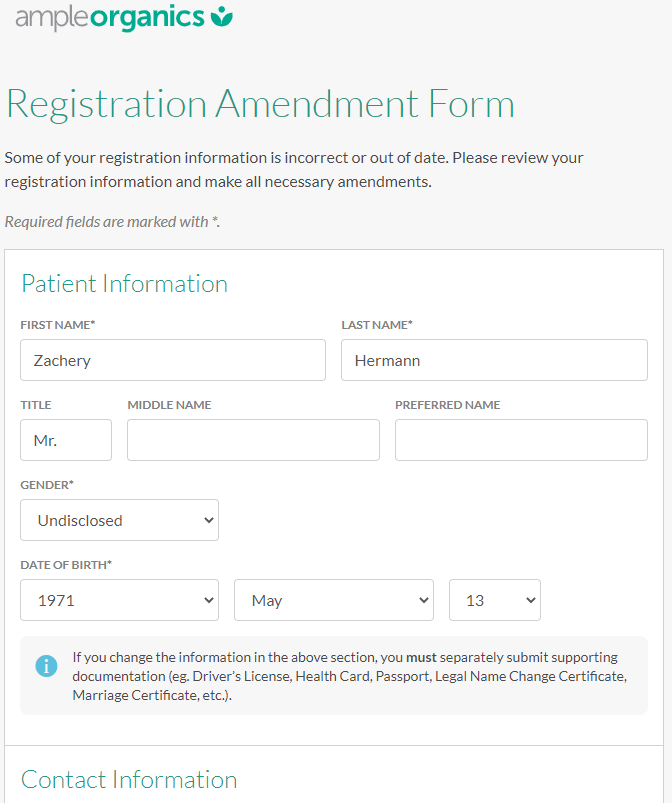
Select Click here to amend your registration to open a registration amendment form. Fields that must be amended will be highlighted in red.
-
Amend registration fields as necessary.
-
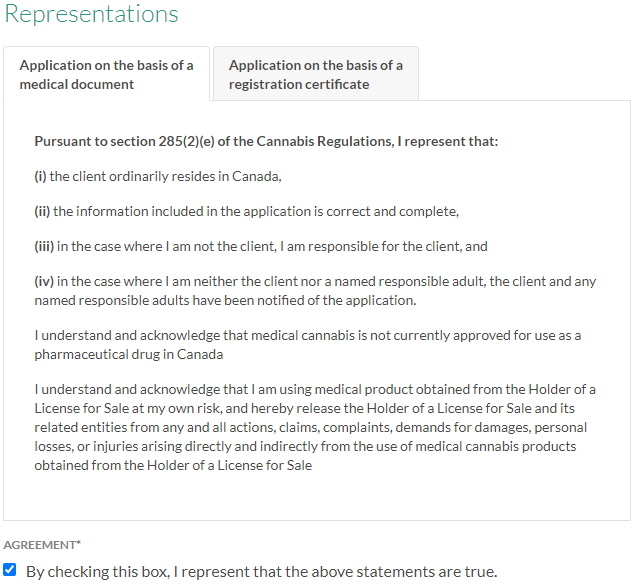
Scroll down to the Representations section, and read through the relevant tab. If everything is in order, check the box to confirm that the client has read and agrees to the terms and conditions.
-
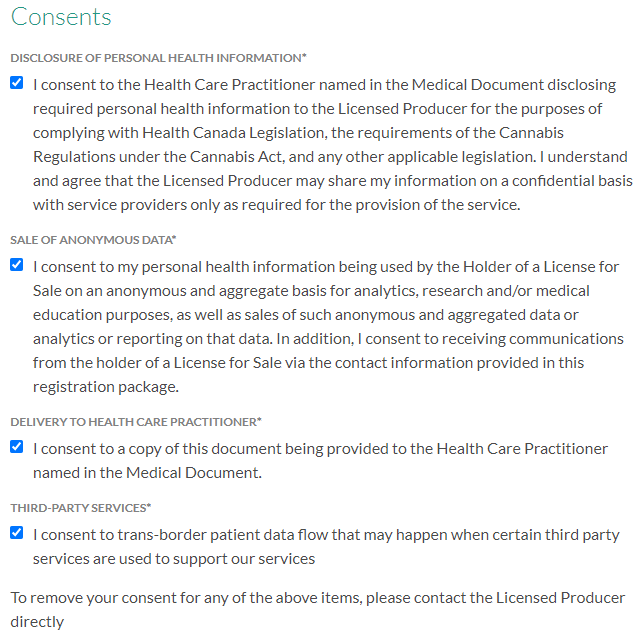
Scroll down to the Consents section, and check boxes to acknowledge and consent to the use of personal information.
-
Type your first and last name in the field provided. This acts as the client's digital signature.

-
Click

to proceed to a Registration Confirmation page.
-
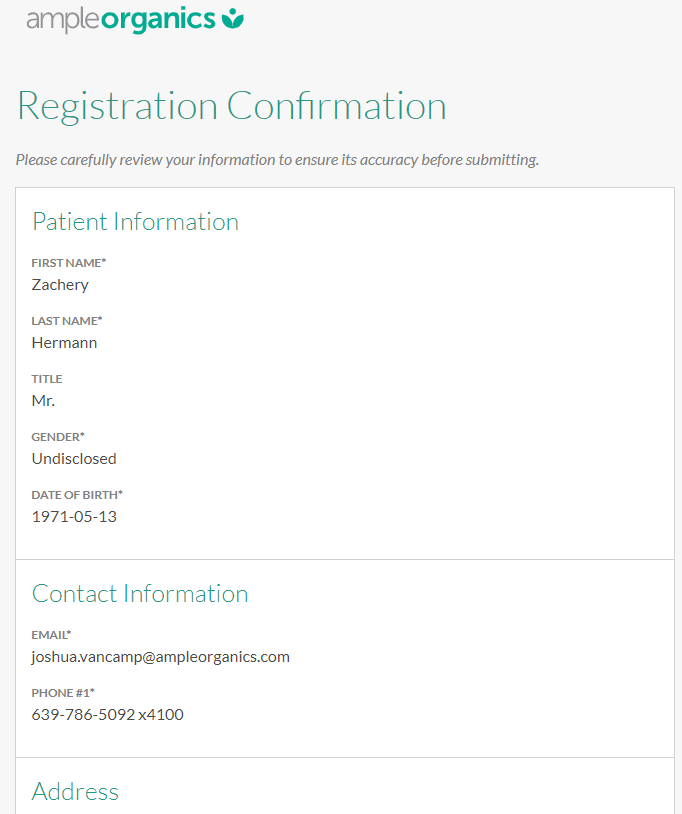
Read through the confirmation page. If everything is in order, click

to submit the registration amendment.

Once the client submits their amendment, their registration will be set to Amendment Verification in the Client's Profile. A CSR must verify the amendment, and then Set the Registration's Status to Approved before the client can continue placing orders.